






NEWS
Categories List
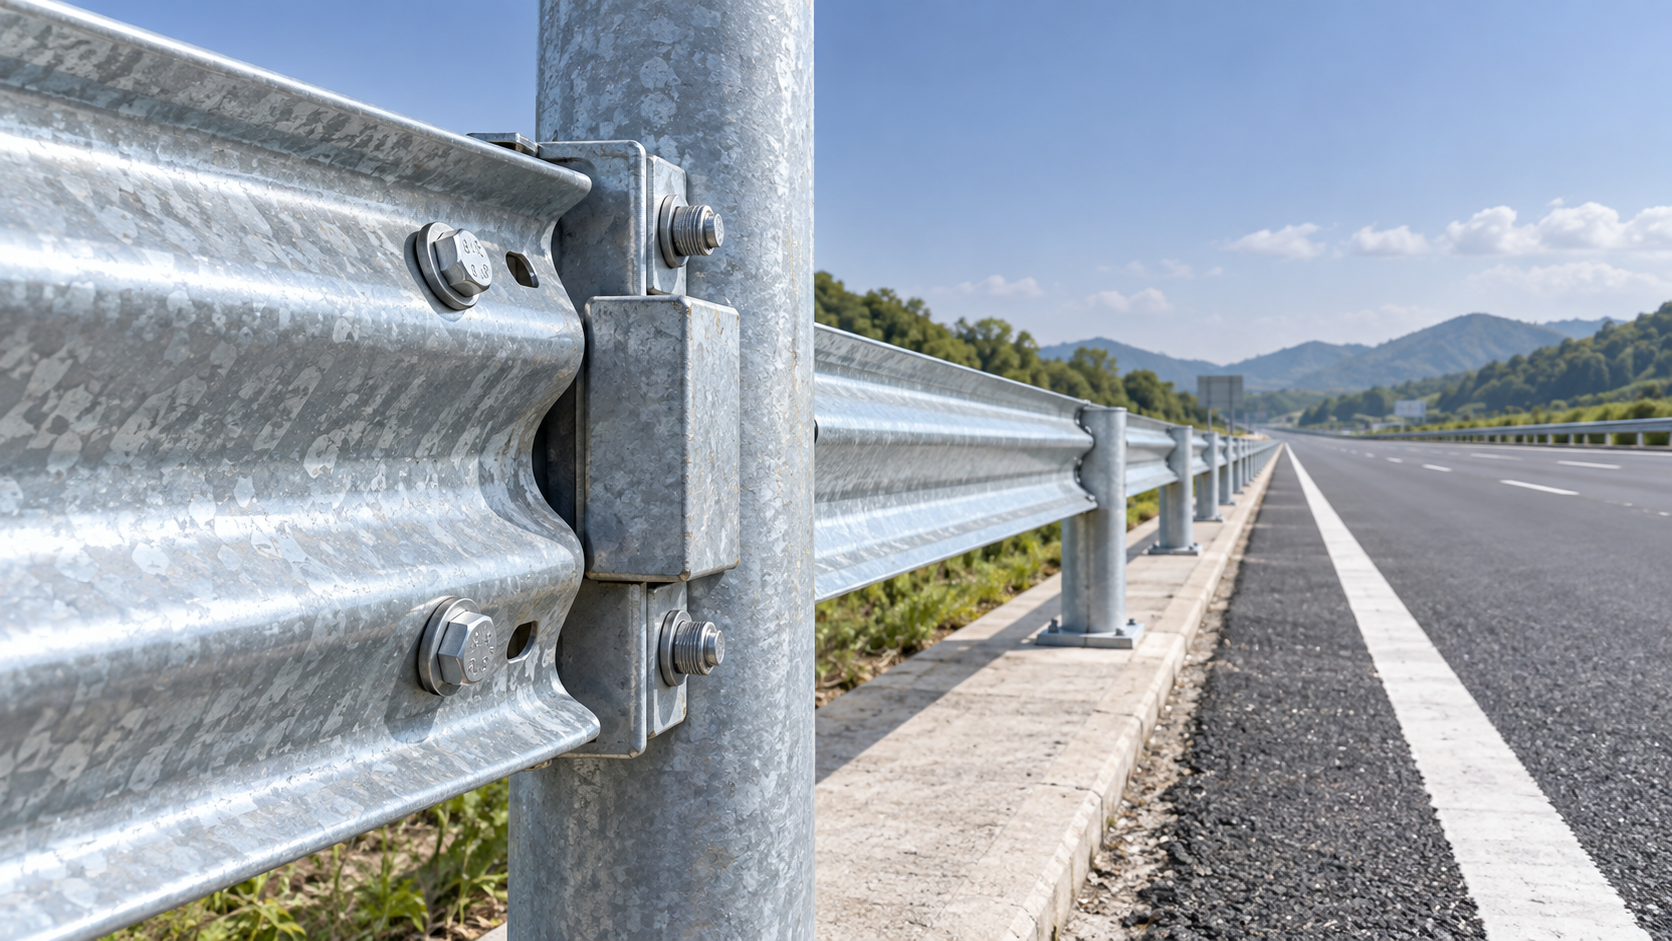
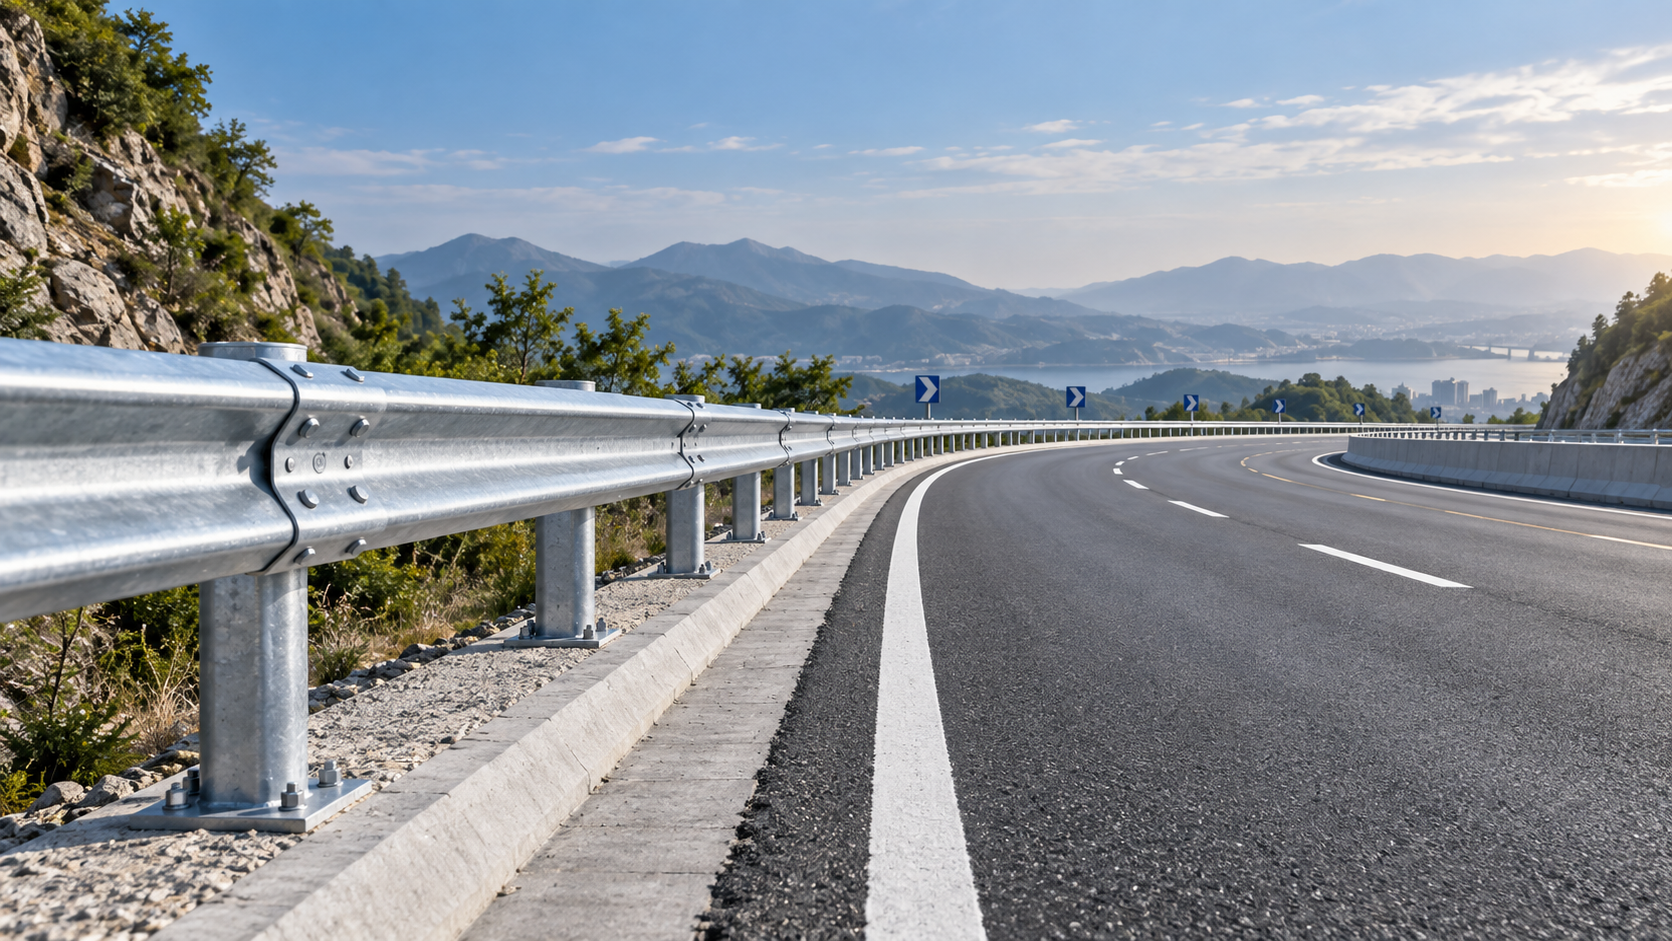
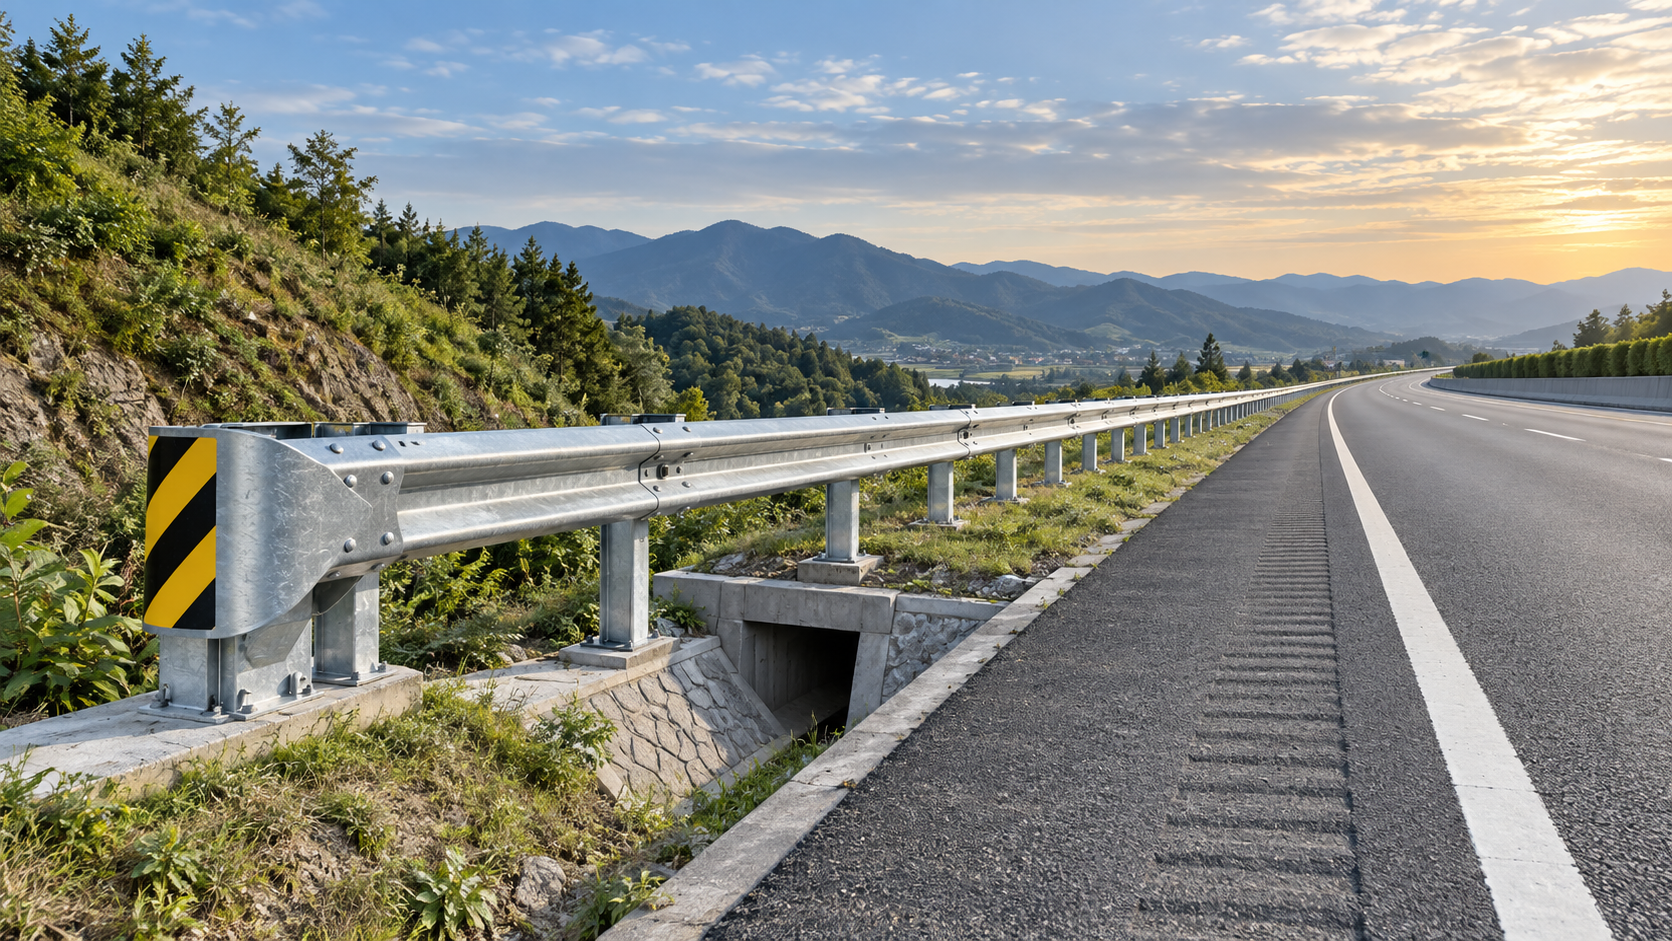
A loose blockout is not a cosmetic defect. In a W Beam Guardrail system, the blockout creates the offset between the rail and the supporting post. That space helps the rail deflect as intended and reduces the chance of a vehicle contacting a rigid post too early. When the blockout moves, rotates, crushes, or develops clearance around its bolts, the load path of the barrier changes.
The usual causes are repeated vibration, previous impacts, incorrect fastener installation, corrosion, dimensional mismatch, and movement of the post or foundation. The practical task is to determine whether the looseness is isolated to the connection or is evidence of a wider loss of support in the guardrail line.
Start by identifying where the movement comes from
A blockout can appear loose for different reasons, and tightening the visible bolt is not always the correct repair. During inspection, hold the rail, blockout, and post as separate reference points. Check which part actually moves: the bolt and washer assembly, the blockout itself, the rail slot, the post, or the soil around the post.
This distinction matters because a guardrail connection can be retightened only when the parts remain sound and correctly positioned. A bolt tightened through distorted steel may temporarily remove visible play while leaving an unreliable connection.
Vibration gradually reduces clamping force
Traffic-induced vibration is a common contributor, especially where heavy vehicles brake, accelerate, or pass close to the barrier. Expansion joints, rough pavement, bridge approaches, and routes with frequent heavy loads can create repeated low-level movement in the rail and post line.
Vibration alone does not usually make a properly assembled connection fail quickly. It becomes a problem when initial bolt preload is insufficient, washers are missing or incorrectly seated, threads are damaged, or the connection contains gaps caused by poor fit-up. Each movement cycle can allow a small amount of relative motion between the rail, blockout, and post. Over time, this can polish contact surfaces, wear coatings, enlarge holes, and reduce the ability of the assembly to stay tight.
A frequent mistake is treating every loose connection as a torque issue. If recurring loosening occurs at the same locations after retightening, inspect for movement sources rather than increasing tightening force without review. A rail under unintended stress, a misaligned post, or a distorted blockout will continue to work against the fastener.
Previous impacts may be present even when the rail looks intact
Minor vehicle contact, maintenance-equipment strikes, snow-clearing contact, and debris impacts can all affect blockout connections. The W-beam rail may spring back close to its original position, making the event easy to miss. The blockout, bolt holes, post flange, or fastener shank may still have experienced enough localized load to create clearance.
Look for subtle evidence: chipped galvanizing, scraped paint, fresh bright metal around holes, bent washer edges, uneven gaps between the rail and blockout, or a rail line that no longer runs smoothly through adjacent posts. A blockout that is visibly tilted or crushed should be treated as a damaged energy-management component, not simply as a loose spacer.
After any known strike, inspect a section beyond the point of contact. Barrier loads transfer along the rail, so the most visibly damaged connection is not always the only one affected.
Installation tolerances and wrong component combinations create persistent problems
Many loose blockouts originate at installation. Common causes include mismatched bolt diameters, incorrect bolt lengths, missing washers, fasteners installed in the wrong orientation, incomplete tightening, or rail and blockout holes forced into alignment. Forcing components together can preload the connection in an unintended direction. Once traffic vibration or temperature movement is added, the assembly may settle and lose clamp force.
Blockouts must also match the rail profile, post arrangement, and approved connection layout. Components that appear interchangeable can have different hole locations, thicknesses, or load behavior. Field substitutions are particularly risky when a repair team uses available stock without confirming the original system configuration.
Quality control should verify more than the presence of a bolt. The inspection should confirm that the specified bolt, nut, and washer arrangement is used; the bearing surfaces are fully seated; the rail is not held under obvious twist; and the assembled line has no forced misalignment. Where drawings specify a tightening procedure, follow that procedure consistently and record the result by installation section.
Corrosion often begins at the connection interface
Corrosion can loosen a connection in two ways. First, it reduces the effective section of the bolt, washer, blockout, or post. Second, corrosion products can disrupt the contact surfaces and change the clamping condition. Water retained between the rail, blockout, and post is more damaging than surface discoloration on an exposed face because it acts directly where the connection transfers load.
Drainage, road-spray exposure, de-icing environments, damaged coating, and debris accumulation all increase the likelihood of connection corrosion. Inspect the rear and lower faces of the blockout, the fastener underside, and the interface behind washers. These areas are often missed during drive-by checks.
Hot-dip galvanized posts and matching connectors provide better long-term resistance when the coating remains intact, but galvanizing does not correct poor drainage, damaged parts, or incompatible replacement hardware. Repair decisions should consider the condition of the complete connection, not the most visible face alone.
Post movement can loosen the blockout even when the bolts are correct
The post transfers barrier loads into the ground. If it leans, rotates, bends, or loses support through erosion or disturbed soil, the rail-to-blockout connection can become the visible point of movement. In that case, replacing the blockout or tightening its bolts addresses the symptom only.
Check post alignment over several bays, not one post in isolation. A sequence of small alignment changes can indicate settlement, drainage problems, or a prior impact that has shifted the line. Post spacing also affects how loads are distributed. A system may use wider spacing on ordinary runs and closer spacing at critical locations, but those arrangements must follow the approved design rather than being altered during repair for convenience.
When a replacement post is required, select a profile and connection arrangement that match the barrier design. Options such as Z Post can be supplied for highway guardrail systems with matching energy-absorbing blocks and bolted connectors. The relevant selection criteria are the required load-transfer arrangement, post spacing, ground condition, rail connection geometry, and compatibility with the existing system.
A practical inspection and repair sequence
- Secure the location and assess the barrier line. Identify recent impacts, traffic exposure, visible deformation, and any area where the rail has shifted out of alignment.
- Check the connection without masking the fault. Inspect bolt, nut, washer, rail slot, blockout, and post contact surfaces before retightening anything.
- Separate fastening defects from component damage. Replace corroded, stretched, damaged, or incompatible hardware. Replace a distorted blockout, elongated connection hole, or bent post rather than relying on additional tightening.
- Inspect the supporting condition. Confirm post alignment and look for erosion, settlement, standing water, or ground damage around the affected post.
- Restore the approved assembly. Use components manufactured to the required drawings and installation arrangement. For non-standard roadside conditions, custom posts and steel components should be produced around the approved site requirements rather than modified in the field.
- Reinspect nearby bays. Recurrent loosening usually has a shared cause, such as traffic vibration, water exposure, installation practice, or an unresolved impact pattern.
What should trigger a more detailed review?
A detailed review is appropriate when loose blockouts recur in the same corridor, multiple adjacent connections show movement, parts loosen shortly after repair, or the rail line has visible distortion. These patterns point to a system issue rather than a single failed fastener.
For quality teams, the most useful records are location, direction of movement, component condition, signs of impact, corrosion condition, post alignment, and the exact replacement hardware used. This makes it possible to identify whether failures concentrate around drainage points, bridge approaches, high-contact locations, or a particular installation batch.
For safety managers, the priority is preserving the intended geometry and load path of the barrier. A W Beam Guardrail performs as an assembly: rail, blockout, fasteners, post, and foundation must work together. A loose connection should therefore be evaluated as a potential change in barrier behavior, not merely a maintenance item that can always be solved with a wrench.
Leave A Reply
Need More Details?
Contact me for details on creating and managing design projects, project features, and services and prices
consult
Our company was established in 1998. It‘s a Chinese pioneer enterprise integrating production and sales, committed to providing high-quality steel products to customers at home and abroad.

First class quality service and professional after-sales team.
Get in Touch
*We respect your confidentiality and all information are protected.