






NEWS
Categories List
Recent Posts
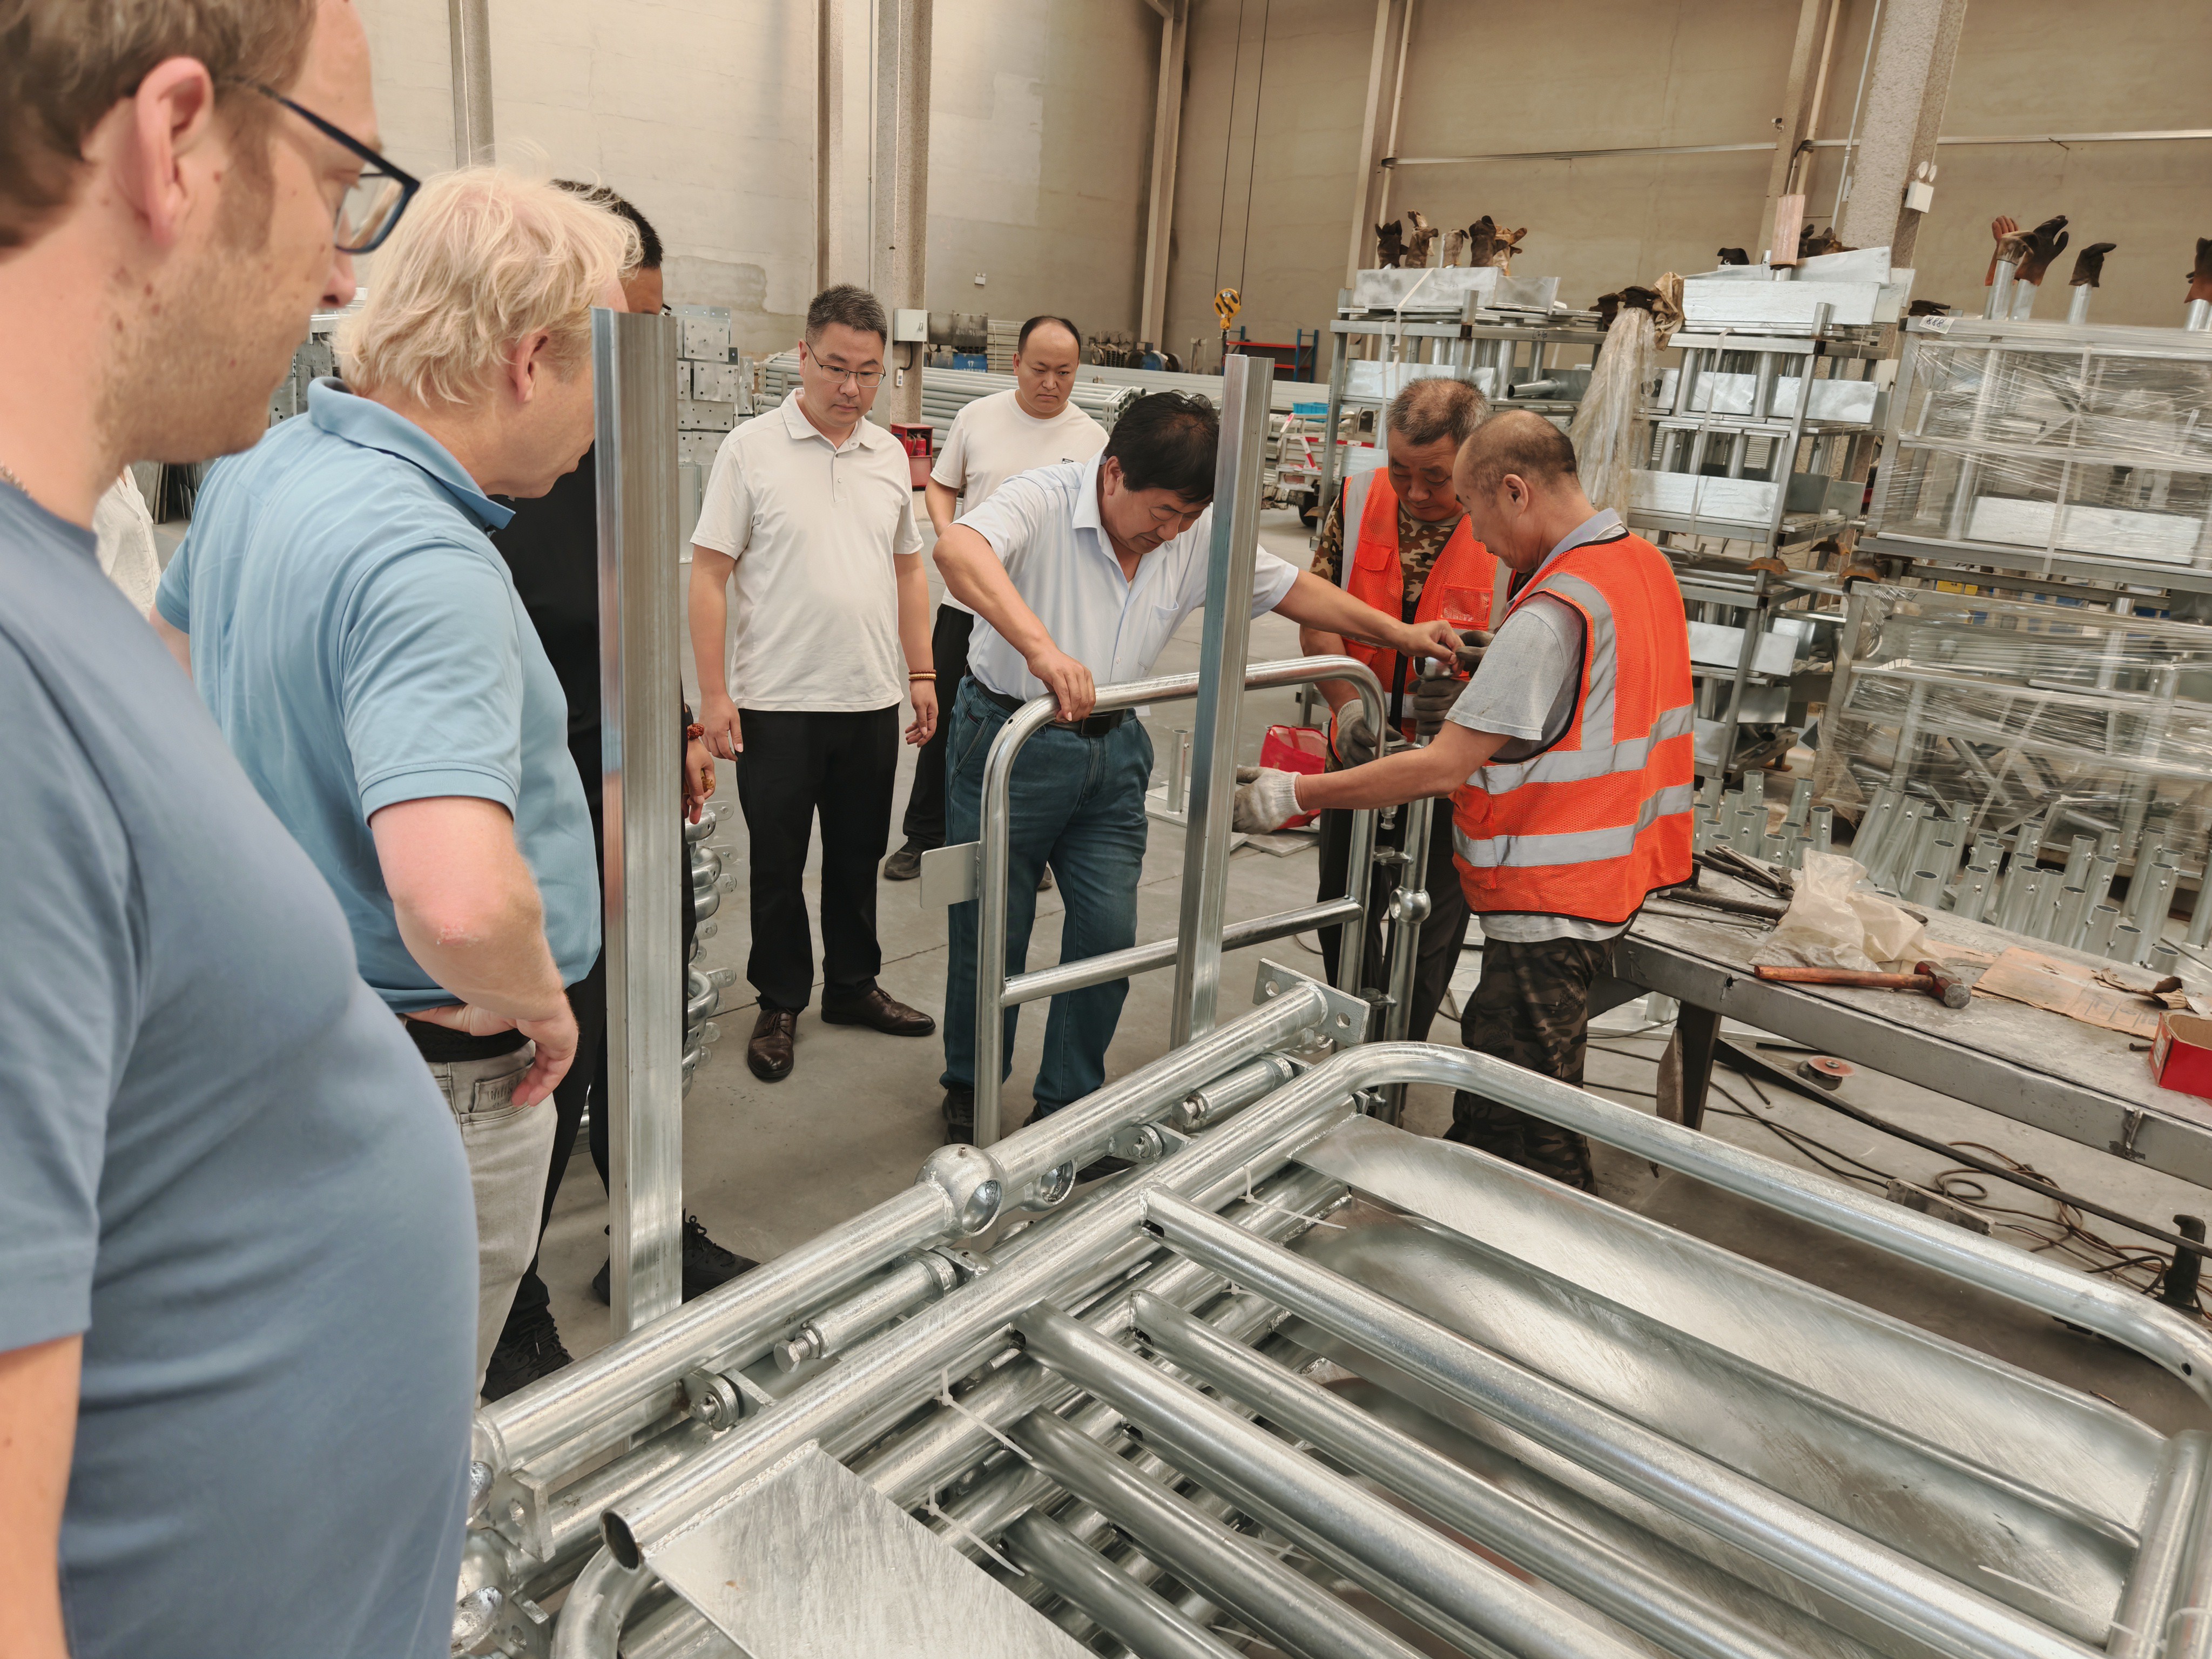
 Netherlands Client Delegation Visits Our Factory to Advance European Highway Guardrail CooperationOct 10, 2026
 AASHTO M180 Guardrail Requirements: A Practical Guide to Material ComplianceOct 10, 2026
 Port Safety Barriers: Selecting Protection for Vehicle Lanes and Loading AreasOct 10, 2026
Why Bollard spacing changes from one vehicle control area to another
Bollard spacing affects more than perimeter control. In transport projects, it shapes turning behavior, emergency access, pedestrian protection, and the way vehicles recover when movement becomes constrained.
That is why a Bollard layout cannot be copied from one site to another. A bus terminal edge, a toll approach, and a bridge service entrance may all require different spacing logic.
In practice, the right distance depends on vehicle size, approach speed, likely impact angle, and whether the area must block passage completely or simply discourage misalignment.
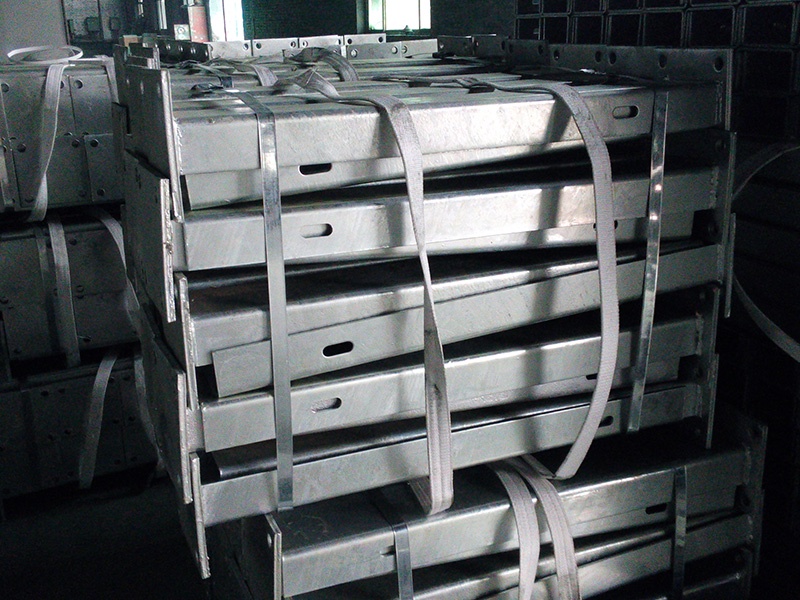
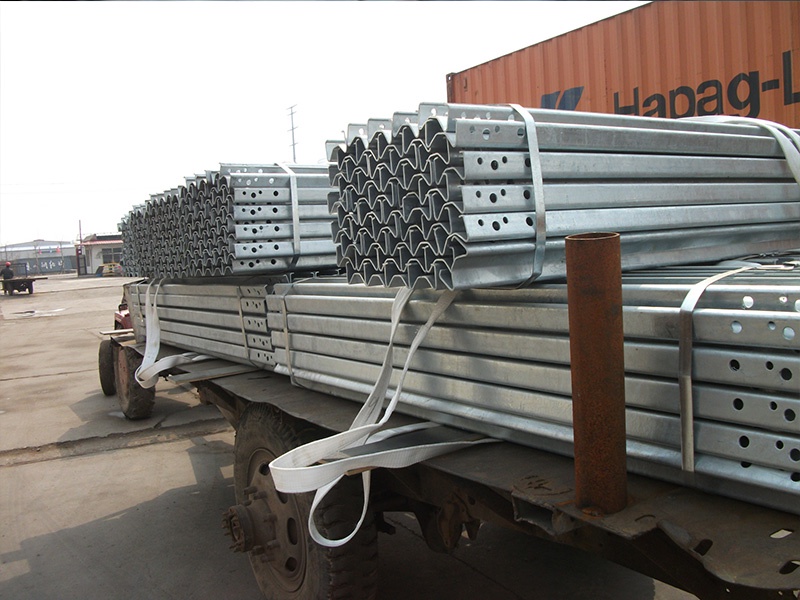
Material quality also matters. When steel products are designed around project drawings, then processed through drilling, bending, rust removal, shot peening, galvanizing, painting, and inspection, the finished Bollard system is easier to align with site demands and service life targets.
At entry points, access control usually matters as much as impact resistance
Transport entrances often look similar on plan drawings, but their operating demands differ sharply. Freight gates need wider envelopes than maintenance lanes, even when both sit within the same corridor.
Here, Bollard spacing is usually judged against the widest permitted vehicle, mirror clearance, and queue behavior. If spacing is too tight, the site creates hesitation and side-swipe risk.
If spacing is too loose, the Bollard line loses control value. Unwanted vehicle entry becomes easier, especially where drivers approach at shallow angles and try to bypass a nominal restriction.
A better approach is to define the traffic rule first. Then set spacing around actual use, including peak-hour delivery patterns, winter visibility, and the need for occasional oversized maintenance vehicles.
Median openings and ramp divergences need a different Bollard judgment
On median strip openings or ramp divergence areas, the issue is rarely simple entry denial. The larger concern is channelization under speed, especially when driver decisions happen late.
In these sections, Bollard spacing should support visual guidance without creating avoidable secondary hazards. Drivers must read the corridor early, not react at the last second.
This is also where adjacent steel safety components become relevant. In some high-risk transitions, reinforcement details such as Fish Plate Connector assemblies help maintain stiffness and crash performance in connected protection systems.
That matters near expressway conflict points, bridge sections, and pier protection zones, where deformation control and long service life can influence the overall safety response, not just the isolated Bollard row.
Typical differences worth checking early
Bridge edges, pier zones, and maintenance routes bring harsher conditions
A Bollard installed near bridge sections or coastal corridors faces a different durability question. Spacing still matters, but long-term corrosion resistance can become equally decisive.
Where salt fog, spray, or standing water are common, layout decisions should be reviewed together with coating systems, base details, and inspection access. A tight pattern that traps debris can raise maintenance effort.
This is why custom steel manufacturing often improves outcomes. When fabrication follows actual drawings and site constraints, it is easier to coordinate Bollard dimensions, anchoring, finish selection, and installation tolerances.
For connected highway safety systems in exposed areas, hot-rolled steel components with zinc-aluminum-magnesium or powder-coated finishes may be chosen to improve durability and preserve performance over extended service periods.
The most common Bollard spacing mistakes are usually not about the numbers alone
A frequent mistake is choosing Bollard spacing from a generic standard detail without checking the site’s actual vehicle mix. Similar corridors can still behave differently once service vehicles and delivery patterns are included.
Another mistake is judging cost only by unit count. Wider spacing may reduce quantities, yet create higher risk, more revisions, or added control devices later. The cheaper layout on paper can become expensive in operation.
There is also a tendency to separate Bollard planning from adjacent barrier design. In high-risk sections, the interface between posts, connectors, guardrails, and foundations often determines whether the protection system works coherently.
- Check whether the goal is denial, channelization, shielding, or speed moderation.
- Review approach speed and impact direction, not only vehicle width.
- Confirm maintenance access before fixing close-center Bollard layouts.
- Assess coatings and fabrication quality for aggressive environments.
A practical way to match Bollard spacing to real transport conditions
Start with the movement pattern. Identify which vehicles must pass, which must be stopped, and which may occasionally need controlled access. That usually clarifies the Bollard spacing range quickly.
Then review structure and environment together. A site near bridge edges, expressway ramps, or coastal infrastructure may justify stronger supporting details, including components such as the Fish Plate Connector in linked safety assemblies.
The benefit is not cosmetic. Extremely high section modulus and bending stiffness help connected systems resist deformation, which matters when adjacent protection zones must keep their geometry after collision events.
Before finalizing a Bollard plan, compare drawings against traffic behavior, foundation limits, coating requirements, and inspection access. That step usually reveals whether the chosen spacing will remain workable after installation, not just at tender stage.
For the next step, organize site conditions by area type, confirm the control objective for each location, and align fabrication details with those priorities. That produces a Bollard layout that is easier to build, maintain, and trust over time.
Leave A Reply
Need More Details?
Contact me for details on creating and managing design projects, project features, and services and prices
consult
Our company was established in 1998. It‘s a Chinese pioneer enterprise integrating production and sales, committed to providing high-quality steel products to customers at home and abroad.

First class quality service and professional after-sales team.
Get in Touch
*We respect your confidentiality and all information are protected.